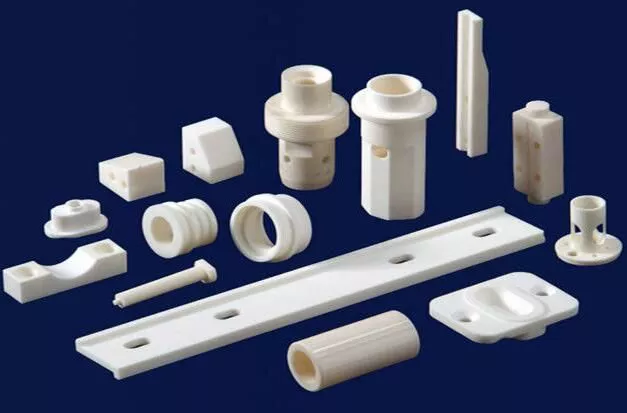
How to test the hardness of advanced ceramics
Ceramic materials have made great progress as an important inorganic non-metallic material. In particular, structural ceramics are widely used in metallurgy, chemical industry, aerospace and other fields due to their high mechanical strength, high hardness, corrosion resistance, and high wear resistance.

Hardness is an important technical parameter of structural ceramics. It is closely related to the strength, wear resistance, toughness, material composition, and microstructure of the material. The chemical bonds of ceramic materials mainly include ionic bonds and covalent bonds. Due to the large elastic modulus of ceramic materials, the directionality of the bond is strong, the density is small, and the dislocation is small, so the plasticity is small. Its microstructure is different from that of metal materials, and it is rarely composed of a single phase, and its crystal phase structure is complex. Therefore, its hardness measurement method is also different from other materials. The standard “Test method for hardness of fine ceramics at room temperature” (GB/T16534-2009) lists two hardness testing methods, Vickers and Knoop.
Vickers hardness test
What is Vickers hardness?
Assuming that a non-deformed Vickers indenter is loaded on the surface of the specimen to form an indentation, the value obtained by dividing the load by the surface area of the indentation calculated from the average of the diagonal lengths of the indentation is the Vickers hardness.
Note: Vickers hardness can be expressed in two units: GPa and (Vickers hardness value) dimensionless unit, where the Vickers hardness value expressed in dimensionless unit is load (in kgf) and indentation surface area (in mm2 units) ratio. It is recommended that the GPa unit be preferred.
What is a Vickers indenter?
The indenter is a regular quadrangular pyramid made of diamond, and the angle between the two opposite faces is 136 degrees.
Principle
Press the Vickers indenter into the surface of the sample with the test force and keep it for a specified time, then remove the test force, measure the diagonal length of the indentation on the surface of the sample, and calculate the average value of the diagonal d.
Effective Vickers indentation
In the case of small indentation cracks, arcuate edges and small holes, it is still an effective indentation because it does not affect the measurement of the diagonal length and the shape of the indentation is basically regular.
Invalid Vickers indentation
Large tip cracking and asymmetric indentation, edge crushing and tip zone displacement indentation, chipping or rough edge and rough edge (grain displacement, pull-out) indentation.
Knoop hardness testing
What is Knoop hardness?
Answer: Assuming that a non-deformed Knoop indenter is loaded on the surface of the sample to form an indentation, the Knoop hardness is the value obtained by dividing the load by the projected area of the indentation calculated from the value of the long diagonal of the indentation.
Note: Knoop hardness can be expressed in two units: GPa and (Knoop hardness value) dimensionless unit, where the Knoop hardness value expressed in dimensionless unit is load (in kgf) and indentation surface area (in mm2 units) ratio. It is recommended that the GPa unit be preferred.
What is a Knoop Indenter?
The indenter is a rhombus cone made of diamond, wherein the included angle of the long edges is 172.5 degrees, and the included angle of the short edges is 130 degrees.
Principle
Press the Knoop indenter into the surface of the sample with the test force, keep it for a specified time, remove the test force, and measure the length of the diagonal length of the indentation on the surface of the sample.
